Chapter 2 Installation
2.1 Set up R environment
We recommend using the renv package to create the environment for xOmicsShiny. We have included a R4.2.2 renv.lock file in GitHub for you to set up renv environment. Below are example codes to set up renv.
Copy the renv.lock file to your project folder, and go to the project directory (from R command or from R Studio), run the following code.
renv::status()
#the next three lins are optional, but may help speed up the installation process
rHome <- R.home()
renv::init(bare=T,settings=list(external.libraries=file.path(rHome,"library")),restart=T)
options(renv.config.install.transactional = FALSE)
renv::restore()
If there are packages that failed to install, most likely certain programs are missing on your system, please read the error message and try to install the programs, then come back to R to install the packages.
(Not recommended), alternatively, you can try to install all the packages manually from R command line in your system.
cran_packages=c("shiny", "shinythemes", "shinyalert", "shinyjqui", "shinyjs", "coop", "cluster", "devtools",
"plotly", "reshape2", "tidyverse", "gplots", "ggpubr", "svgPanZoom", "WGCNA","drc", "heatmaply","dendextend",
"gridExtra", "ggrepel", "RColorBrewer", "pheatmap", "rgl", "car", "colourpicker", "VennDiagram", "factoextra",
"openxlsx", "visNetwork", "cowplot", "circlize", "svglite", "Hmisc", "ggrastr", "ggpmisc","ggprism","parallel",
"ggExtra", "networkD3", "vctrs", "ragg", "textshaping", "stringi", "plyr", "png", "psych", "broom", "rclipboard")
#Note: Hmisc is not required to run the Shiny app but is needed to prepare network data from expression matrix.
install.packages(cran_packages, repos="http://cran.r-project.org/")  #choose repos based on your location if needed
if (!requireNamespace("BiocManager", quietly = TRUE))
    install.packages("BiocManager")
BiocManager::install(c("Mfuzz", "biomaRt", "ComplexHeatmap", "pathview", "fgesa", "org.Hs.eg.db", "org.Mm.eg.db", "org.Rn.eg.db"))
#install PCSF
devtools::install_github("IOR-Bioinformatics/PCSF", repos=BiocInstaller::biocinstallRepos(),
                         dependencies=TRUE, type="source", force=TRUE)
2.2 Set up configure files
The config.csv in the project folder is required by the system. We have included an example configure file in GitHub. You can modify the file to fit your system.
- server_dir: the directory to hold project Rdata files which can be loaded in the URL as ?server_file=project_ID
- test_dir: Not use, can ignore
- gmt_file_info: the csv file listing all the gmt files used in gene set enrichment. See below for more details.
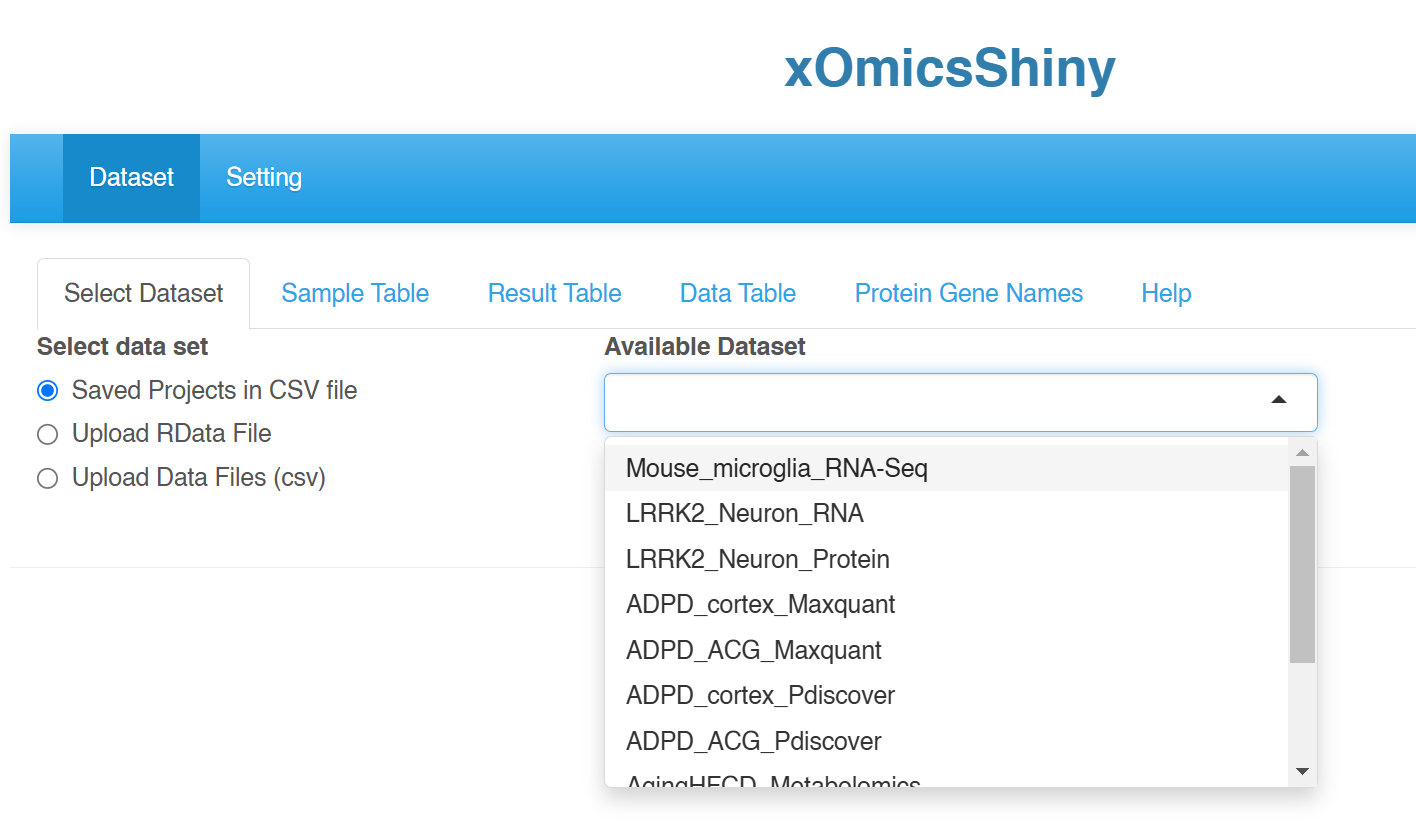
(Optional) If you have a list of data files for the system to display as “Saved Projects in CSV file”, save the RData is data/ folder under the project folder, and include a file called saved_projectsNEW.csv in the data/ folder. See the example saved_projectsNEW.csv on GitHub.
2.3 Set up gene sets
We recommend downloading human and mouse gene sets from MSigDB to be used in xOmicsShiny. For rat and other species, one can use the msigdbr package to get the gene set GMT files. We have included a small list of gene sets in GitHub for demo purposes. You can include the full set in your local system.
We used gene symbols in the GMT files. Custom gene set files can be easily added as well.
The gmt_file_info parameter from the configure.csv points to a csv file (db/db_gmt_files.csv) that lists the gene set files to be loaded into the system. Please see the example on GitHub. You need to modify this file after you add any new GMT files in order for them to show up in the menu. The last column in this file “Show” controls whether a GMT file is used or not in the system. The short_name and label_name are displayed as the gene set name in the menu.
2.4 Metabase Users
If you have metabase subscription, you can add the metabase pathways in the Gene Set Enrichment tool.
First, install the metabaser package following the instruction from vendor so the system can display metabase pathways. Also prepare file db/metabase_config.RData where you save the connection parameters to metabase, including the following variables: bname, uid, pwd, host, port, type, driver.
Next prepare a GMT file of all the metbase pathways and save it as db/human/metabase_maps_genesymbols.gmt, and update the db/db_gmt_files.csv. The presence of file db/human/metabase_maps_genesymbols.gmt will trigger the system to turn on metabase functions.
library(metabaser)
maps <- load.ontology('maps', type='gene')
##Export maps using human HGNC gene symbols
mapsg <- lapply(maps, get.genesymbol)
metabaser:::export.gmt(mapsg, file = 'metabase_maps_genesymbols.gmt')