CellDepot
![]()
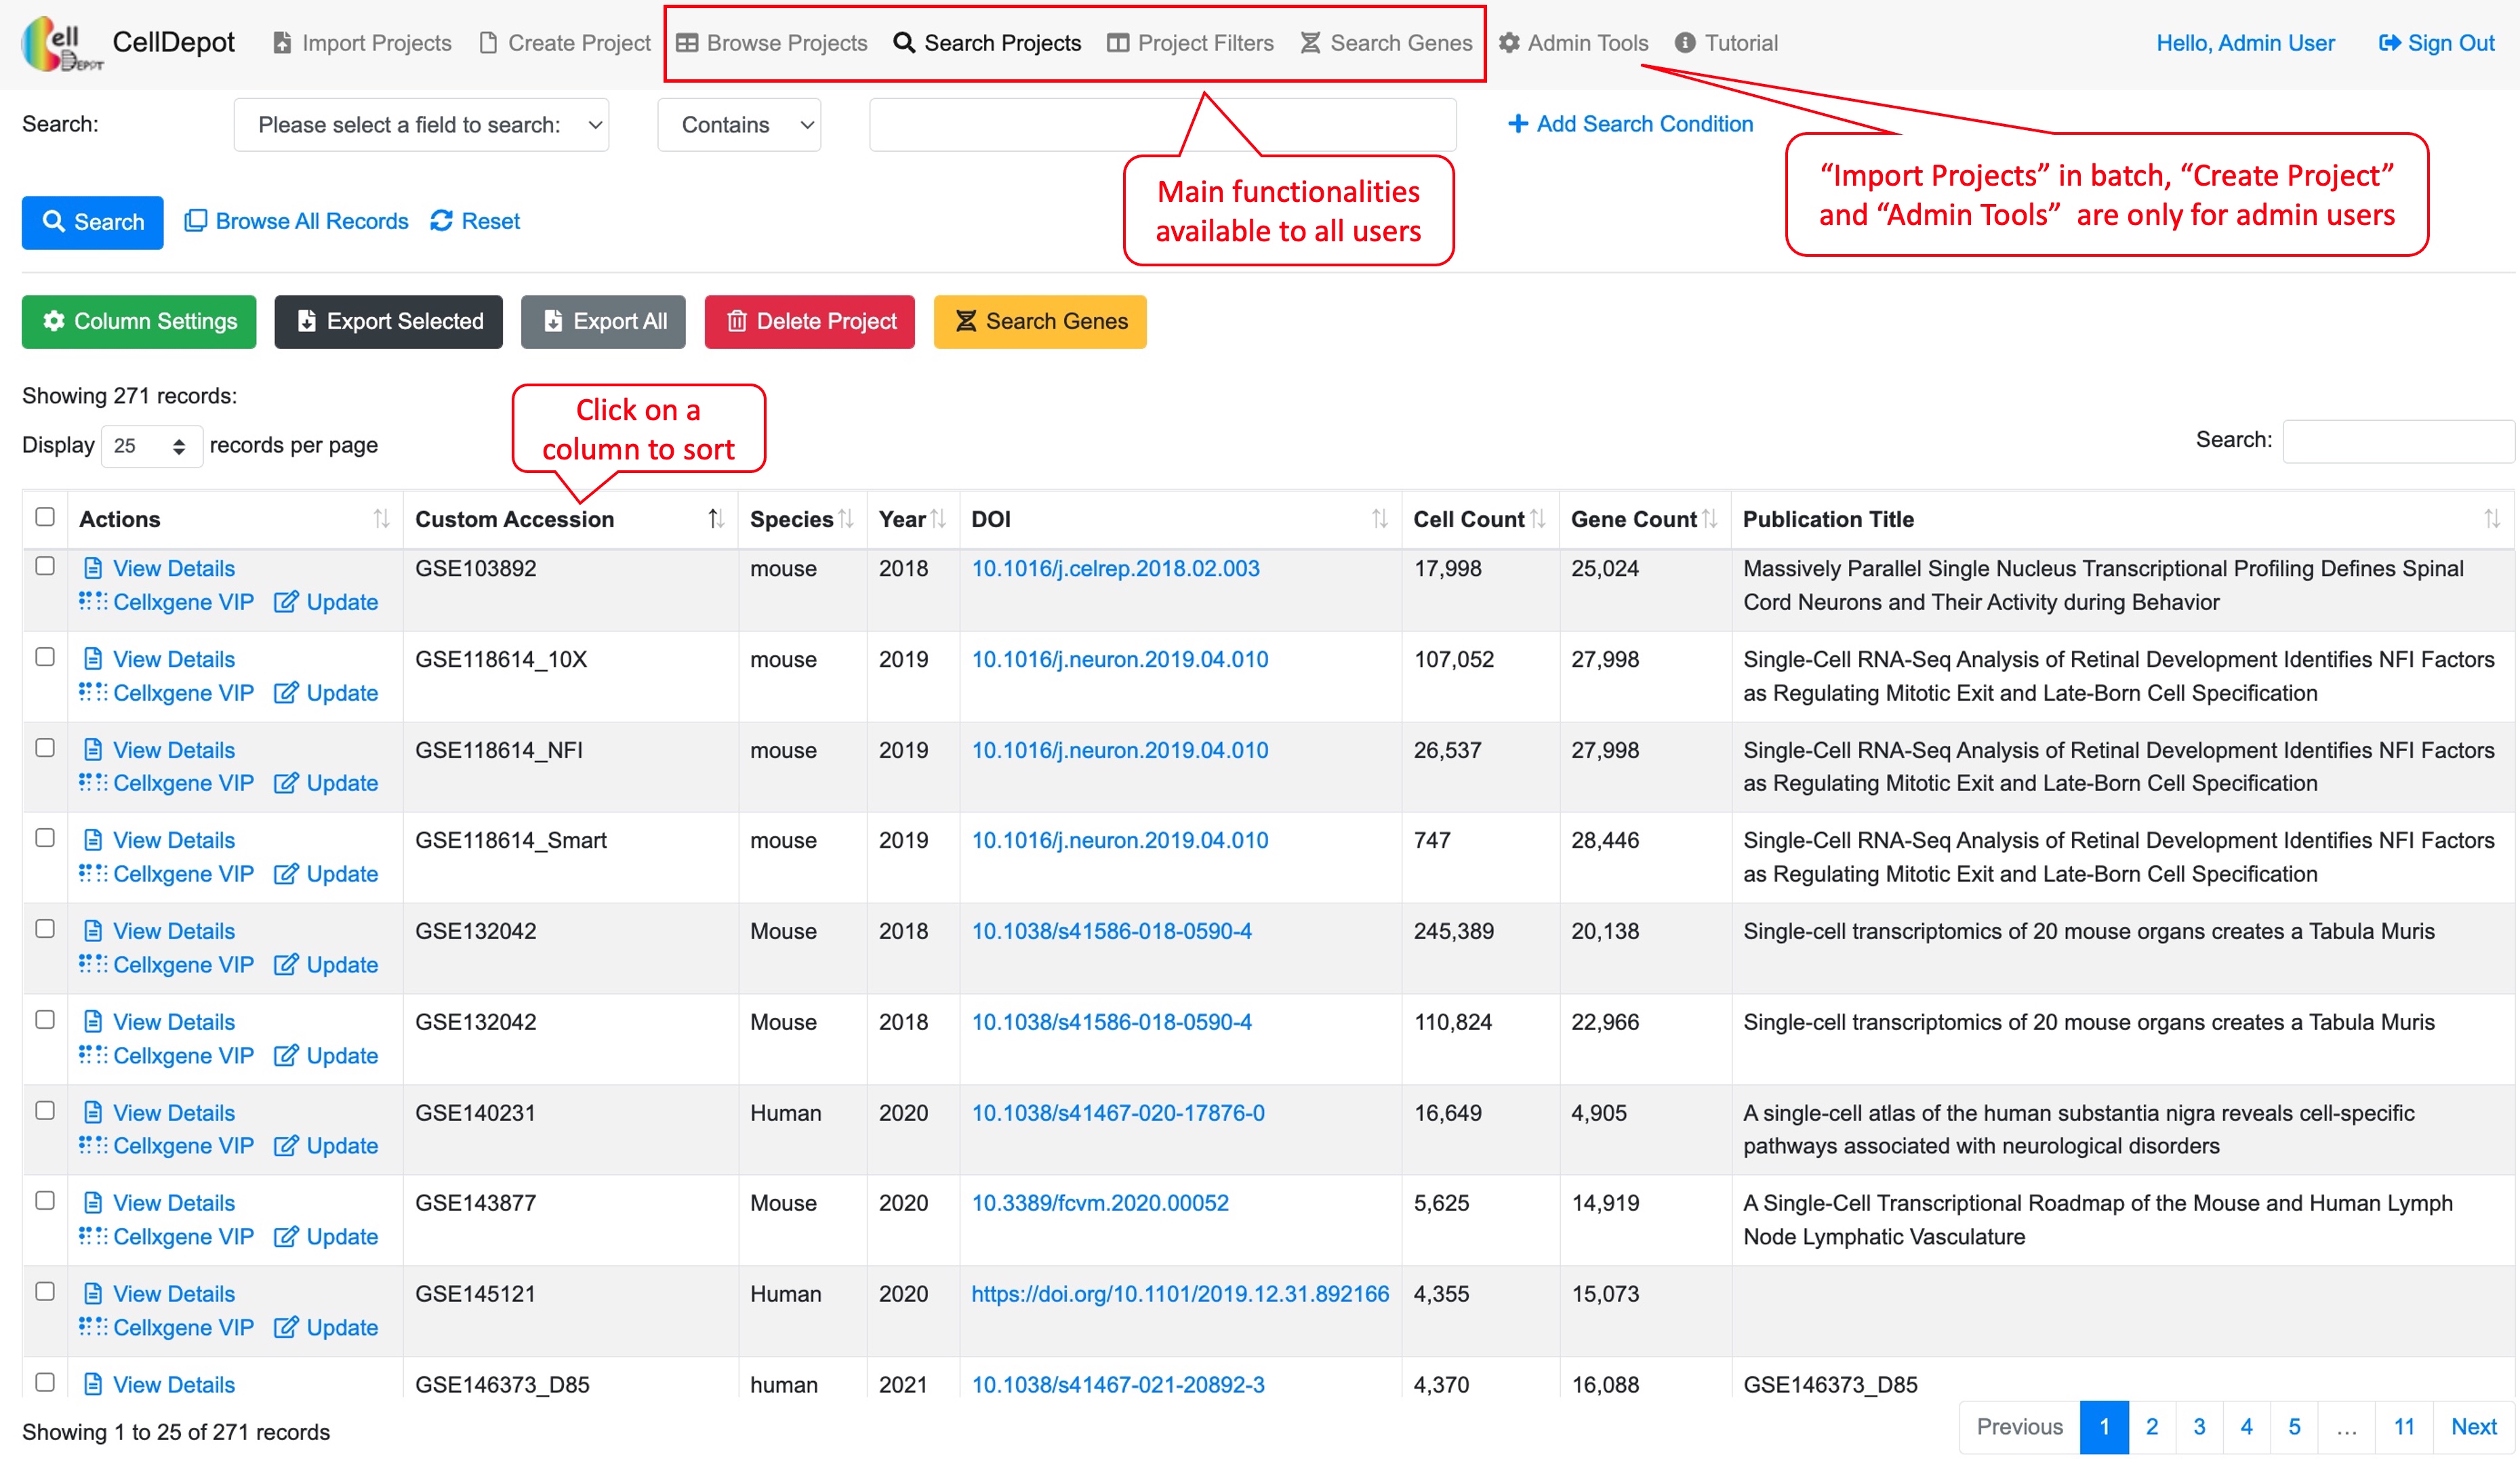
CellDepot is database management system integrated with management system, query searching and data visualization tools for scRNA-seq datasets, which can be accessed by the link http://celldepot.bxgenomics.com and Biogen internal link http://go.biogen.com/CellDepot.
This is a supplemental tutorial written in Markdown, which provides the detailed guide for CellDepot web portal. Please see the HTML format tutorial at https://interactivereport.github.io/CellDepot/bookdown/docs/. You can also make a local copy of the supplemental tutorial by using makebook.sh.
Check out repo of the Bookdown
git pull https://interactivereport@github.com/interactivereport/CellDepot gh-pages
Use full URLs to refer to figures to avoid checking duplicated figures in GitHub and separate figure modification from text edit.
[](https://interactivereport.github.io/CellDepot/bookdown/figures/S1.jpg)
How to convert online CellDepot tutorial to PDF file
bookdown::render_book("index.Rmd", "bookdown::pdf_book")
After running above command, three files: .tex, .pdf and .log files in /bookdown folder will be generated.
Note: If LaTex is able to compile .tex, you will find a .pdf copy in /bookdown/docs folder. If LaTex fails to compile .tex, the .pdf copy will not appears in /bookdown/docs folder. When LaTex fails to compile .tex, you need to look into .log file and edit corresponding errors in .tex file.
Followings are some tricks to format PDF by editing .tex file.
- Authorship:
\author{Author1 \and Author2 \and Author3 \and Author4 \footnote{Cooresponding author, email: author4@xxx.com}}Note: \footnote{} can be used for cooresponding author and/or co-author.
-
Webpage URL for inserting figures
Option 1 (recommanded, please note that local files are used in \includegraphics by removing URL prefix):
\href{https://interactivereport.github.io/CellDepot/bookdown/figures/table_s1.jpg}{\includegraphics{figures/table_s1.jpg}}Option 2: adding \write18{} before \includegraphics for each figure located on the website.
\write18{wget http://www.some-site.com/path/to/image.png} \includegraphics{image.png} - Adjust the table to fit on page by adding \resizebox before \begin{tabular}
\begin{table} \resizebox{\textwidth}{!}{ \begin{tabular} ... table contents... \end{tabular} } \end{table} -
Position of figures and table by adding placement specifier.
For example, placing the figure close to where it is mentioned.
\begin{figure}[h]
... figure contents...
\end{figure}
For more details, please see https://www.overleaf.com/learn/latex/Positioning_of_Figures
- Covert .tex to .pdf
Get pdflatex command, https://www.latex-project.org/get/
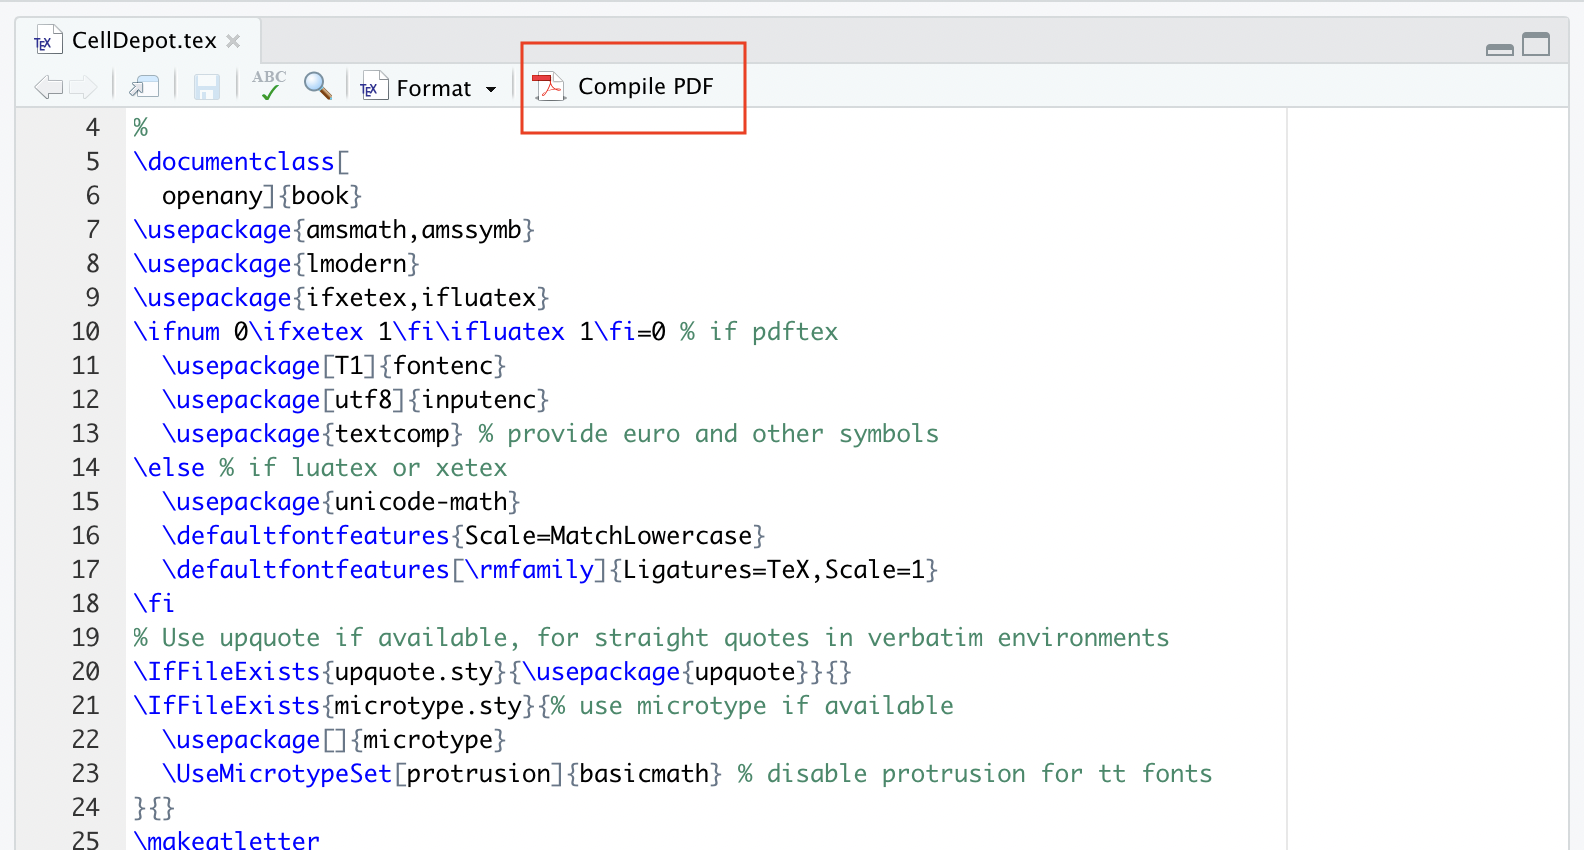
brew install basictex (Mac)Option 1: In Rstudio
If you are using Rstudio, you can direct click ‘Compile PDF’ button for the .tex file (You need open .tex file in Rstudio).
For example:
Option 2: Using “pandoc” from Rstudio from command line
( /usr/local/bin/pandoc -> /Applications/RStudio.app/Contents/MacOS/pandoc/pandoc )
pandoc CellDepot.tex -o CellDepot.pdfOption 3: In Linux, Mac or Windows
- Go to termial:
pdflatex -jobname=CellDepot CellDepot.tex - If any trivial ‘.sty’ not found, please use “Enter” to skip.
-
If not found ‘.sty’ is critical, Go to https://www.ctan.org/pkg, download the package and install it in the system by following the INSTALL file in each downloaded package under your latex path (e.g. /usr/share/texlive/texmf-dist/tex/latex/)
Note: This step is also applicable for ‘complie PDF’ in Rstudio.
- Go to termial: